Vulnerability Scanning with Nexpose
Vulnerability scanning and analysis is the process that detects and assesses the vulnerabilities that exist within an network infrastructure. A vulnerability is a characteristic of an asset that an attacker can exploit to gain unauthorized access to sensitive data, inject malicious code, or generate a denial of service attack. To prevent security breaches, it is important to identify and remediate security holes and vulnerabilities that can expose an asset to an attack.
You can use Nexpose to scan a network for vulnerabilities. Nexpose identifies the active services, open ports, and running applications on each machine, and it attempts to find vulnerabilities that may exist based on the attributes of the known services and applications. Nexpose discloses the results in a scan report, which helps you to prioritize vulnerabilities based on risk factor and determine the most effective solution to implement.
Nexpose integrates with Metasploit Pro to provide a vulnerability assessment and validation tool that helps you eliminate false positives, verify vulnerabilities, and test remediation measures. There are a couple of ways that you can use Metasploit Pro with Nexpose. Metasploit Pro provides a connector that allows you to add a Nexpose Console so that you can run a vulnerability scan directly from the web interface and automatically import the scan results into a project. You can also run scans from Nexpose and import the scan reports into Metasploit Pro to perform vulnerability analysis and validation. You choose the method that works best for you.
- Asset - A host on a network.
- Site - A logical group of assets that has a dedicated scan engine. A site can run over a long period of time and provide you with historical, trending data and is similar to a project in Metasploit.
- Scan Template - A template that defines the audit level that Nexpose uses to perform a vulnerability scan. For more information on scan templates, check out the Nexpose documentation . Adding a Nexpose Console Before you can run a Nexpose scan from Metasploit Pro, you must add a Nexpose Console. You’ll need to know the address and port Nexpose runs on, and you’ll need the credentials for an account that can be used to log into the Nexpose console.
To add a Nexpose Console:
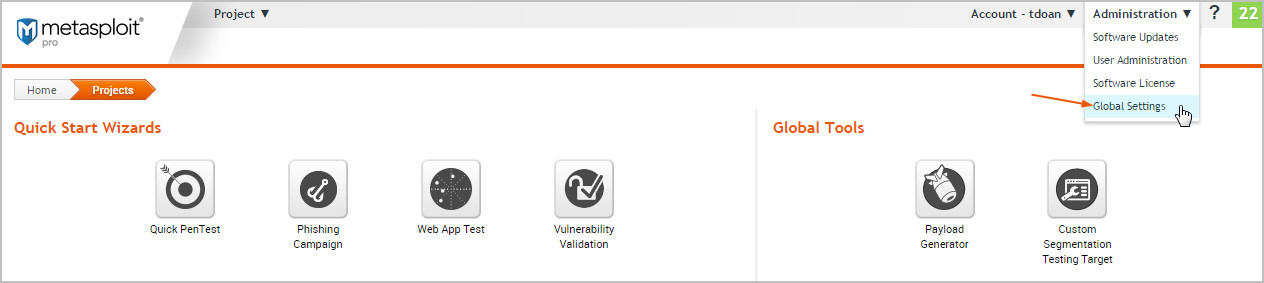
- Choose Administration > Global Settings from the main menu.
- Click the Nexpose Consoles tab.

- Click the Configure Nexpose Console button.

- When the Nexpose configuration page appears, enter the following information:
- Console Address - The IP or server address for the Nexpose instance.
- Console Port - The port that runs the Nexpose service. The default port is 3780.
- Console Username - The username that will be used to log in to the console.
- Console Password - The password that will be used to authenticate the account.
- Select the Enabled option to initialize and activate the Nexpose Console.
- Save the configuration.
The Nexpose Consoles table is updated with the console. If Metasploit Pro is able to successfully connect and authenticate to the Nexpose console, the status is ‘Available (Enabled)’, as shown below:

Otherwise, an ‘Error’ status displays if there is an issue with the console’s configuration. The following errors may appear:
- ‘Error: Nexpose host is unreachable’ indicates that Metasploit Pro cannot access the console. You will need to verify that you have entered the correct address and port.
- ‘Error: Authentication required for API access’ indicates that the credentials that you have provided cannot be used to authenticate to the Nexpose server. You will need to verify that you have entered the correct credentials. Running a Nexpose Scan To be able to prioritize security risks, you must know what devices are running in an environment and understand how they are vulnerable to attacks. You can run a Nexpose scan to discover the services and applications that are running on a host and identify potential vulnerabilities that may exist based on the collected data. To learn how Nexpose works, check out the Nexpose documentation .
All scan data collected from Nexpose is stored in a Metasploit project and can be viewed from the Analysis area. The information gathered from each host includes the IP address, host name, operating system, running services, and possible vulnerabilities. Metasploit Pro maps each vulnerability to a related module, if one exists in the module database for it. These modules are viewable from the Modules tab on the single host view.
To run a Nexpose scan:
- From within a project, click the Overview or Analysis tab.
- Click the Import button located in the Quick Tasks bar.
- When the Import page appears, click the Choose a Nexpose console dropdown and select the console you want to use to run the scan. The list shows Nexpose consoles that you have added to Metasploit Pro. If there are not any consoles available, please add a Nexpose console before you continue.
- Enter the addresses you want to scan in the Scan targets field.
- You can specify an IP address, an IP range, or a CIDR notation. Each item must be listed on a new line.
- You can use standard IPv6 addressing to define individual IPv6 addresses. For example, use
fe80::202:b3ff:fe1e:8329for single addresses and2001:db8::/32for CIDR notations. For link local addresses, you must append the interface ID to the address. For example, enterfe80::1%eth0for a link local address. - You can only scan the number of hosts for which you have licenses in Nexpose. If you provide more hosts than the number of licenses that you have available, the scan fails. For example, if you have a Community license, the most number of hosts Nexpose supports is 32. If you provide more than 32 hosts, the scan fails.
- Click the Scan template dropdown and select a template. For more information on scan templates, please check out the Nexpose documentation .
- If you do not want the scan to overwrite the data for existing hosts in the project, select the Don’t change existing hosts option.
- Click the Import data button to start the scan.
After the scan completes, select Analysis > Hosts to view the scan results.

After you run a Nexpose scan from Metasploit Pro, a temporary site is created on the Nexpose console. The naming syntax for a temporary site is Metasploit-<project name>-<ID>. In Nexpose, select Assets > Sites to view a list of sites and search for the site by project name.

Nexpose Scan Blackouts
A scan blackout prevents a Nexpose scan from taking place during a specific time period. If you attempt to run a Nexpose scan from Metasploit during a blackout, the scan will launch, but will show an error like the following in the task log:
Starting Nexpose Scan
[*] [2015.07.22-16:28:03] >> Created temporary site #27 Metasploit1234
[-] [2015.07.22-16:28:03] Auxiliary failed: Nexpose::APIError NexposeAPI: Action failed:
[-] [2015.07.22-16:28:03] Call stack:
[-] [2015.07.22-16:28:03] /Users/rapid7/pro/msf3/lib/rapid7/nexpose.rb:225:in `execute'
You must wait until the blackout is over to run the scan.
To find out when the blackout ends, log in to your Nexpose Console and do the following:
- Go to the Administration page.
- From the Scan Options, find the Global Blackouts category and select Manage.
- Review the existing global and site blackout periods. Importing Nexpose Data If you prefer to run scans directly from the Nexpose Console, you can import the scan results to share the results and validate them with Metasploit Pro. When you import data from Nexpose, Metasploit Pro automatically indexes the vulnerability data from Nexpose by using the service and vulnerability reference ID to map each vulnerability to a matching exploit. The mapped exploits helps you to easily launch attacks against the vulnerability and to quickly determine if the vulnerability is a real risk or a false positive.
You can either import a site directly from a Nexpose Console or you can import a Nexpose Simple XML or XML export file.
Importing Existing Nexpose Sites
- Open the project that you want to import data into.
- From the Tasks bar, click the Import button. The Import Data page appears.
- Select the Import from Nexpose option.
- Click the Choose a Nexpose Console dropdown and select the console from which you want to import data.
- Select the Import existing data option.
- Select the site(s) you want to import from the Sites table.
- Select Do not change existing hosts if you do not want to modify any existing hosts that are stored in the project.
- Click the Import Data button to start the import.
The task log appears and shows you the status of the import. When the import completes, the task log displays a ‘Completed’ status. To see the imported data, select Analysis > Hosts to go to the Hosts page.
Importing a Nexpose Simple XML or XML Export File
- From within a project, click the Overview or Analysis tab.
- Click the Import button located in the Quick Tasks bar.
- When the Import Data page appears, select the Import from file radial button.
- Click on the Choose file button to open the File Upload window.
- When the File Upload window appears, browse to the location of the file you want to import, select it, and click the Open button.
Metasploit Pro supports the following Nexpose export types: XML Export, XML Export 2.0, and Nexpose Simple XML Export.
- Configure any of the additional settings (optional):
- Excluded Addresses - Enter any hosts you do not want to include in the import. You can enter a single host, an IP range, or a CIDR notation. Each item must appear on a new line.
- Don’t change existing hosts - Select this option if you do not want to overwrite the data for a host that already exists in the project.
- Automatic tagging - Enter any tags you want to apply to the imported hosts. You can also select the Automatically tag by OS option to add an OS tag, such as ‘os_windows’, ‘os_linux’ or ‘os_unknown’ tag, to each imported host.
- Click the Import Data button to start the import.
The task log appears and shows you the status of the import. When the import completes, the task log displays a ‘Completed’ status. To see the imported data, select Analysis > Hosts to go to the Hosts page.